So with saying all that here are some comfort foods that we {love to} eat in moderation! I even figured out how to make the recipes printable for you! I hope you enjoy. {grin}
Pumpkin Chili (click here for printable recipe)
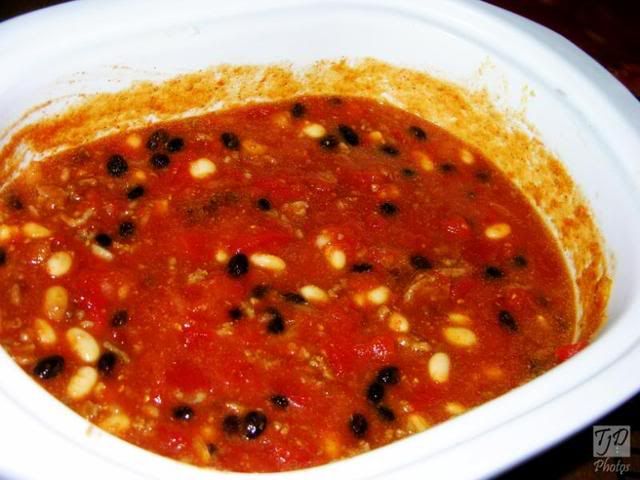
Ingredients:
2 pounds ground beef
1 large onion, diced
2 (15 ounce) cans black beans (rinsed and drained of all of those preservatives!)
2 (15 ounce) cans navy beans
2 (28 ounce) can diced tomatoes with juice
1 can canned pumpkin puree
1 tablespoon pumpkin pie spice
1 tablespoon chili powder
1 tsp. white pepper
1 tsp. cumin powder
1/4 cup brown sugar
Method:
Brown ground beef with onion. Add everything to crock pot and cook on low 8-10 hours.
BBQ Pork (click here for printable recipe)
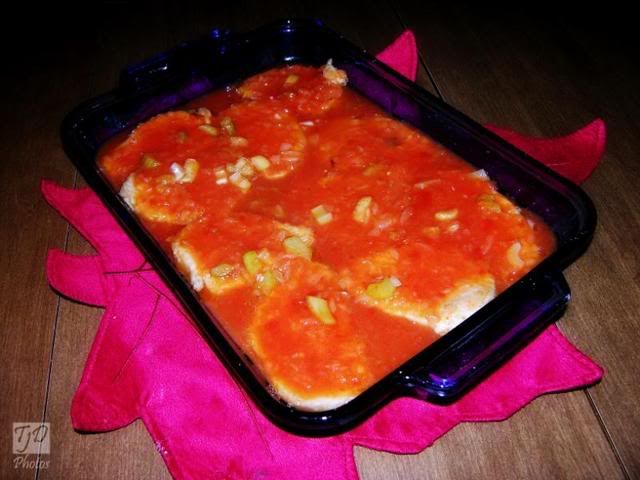
Ingredients:
4 lbs. spare ribs or boneless pork chops
1 medium onion, chopped fine
2 T. butter
2 ts. vinegar
1/8 tsp. cayenne pepper
1/4 C. lemon juice
2 T. brown sugar
1 C. ketchup
3 T, worsershire sauce
1/2 T. ground mustard
1 C. water
1/2 C. celery, chopped fine
Method:
Brown ribs/pork chops using oil and flour.
Put meat in baking pan. Cook onion and celery in butter and add rest of ingredients and cook and stir until warm. Pour over meat and bake at 350 degrees for 2 hours.
Reheatable Mashed Potatoes (click here for printable recipe)
These are awesome! We only have mashed potatoes a few times a year, but when we do, we eat them this way - and enjoy every bite, guiltlessly! These are awesome because they are perfectly reheatable and taste the SAME! You can make them the night before and throw them in your fridge to reheat the next day, without losing any of the integrity of the potatoes! They freeze beautifully, too!
Ingredients:
5 lbs. potatoes, peel and cook
8 oz. cream cheese (I use neufachatel)
1 stick butter
1 tsp garlic powder
1 C. sour cream (I use plain yogurt)
salt and pepper to taste
Method:
Put peeled and cooked potatoes in mixing bowl and beat. Add in remaining ingredients and beat until they are the consistency that you prefer.
Buttermilk Whole Wheat Bread (click here for printable recipe)
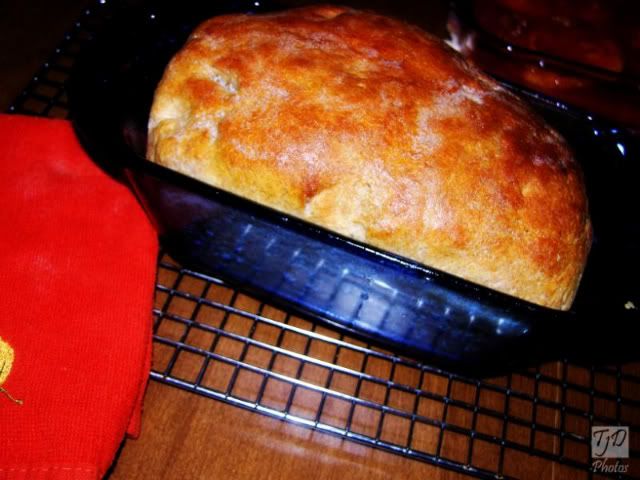
Ingredients:
1 1/2 C. buttermilk
3 T. canola oil
2 1/2 T. maple syrup
2 C. whole wheat flour
2 C. bread flour
1 T. plus 2 tsp. gluten
2 tsp. salt
2 1/4 tsp SAF yeast
Method:
Place all the ingredients in the pan according to the order in the manufacturer's instructions. Set crust on medium and program for the whole wheat cycle; press start. When baking ends, immediately remove the bread from the pan and place on a rack. Let cool to room temperature before slicing.
*I made mine in the Kitchen Aid and baked in the oven
Deep Dish Apple Pie with whole wheat crust (click here for the printable recipe)
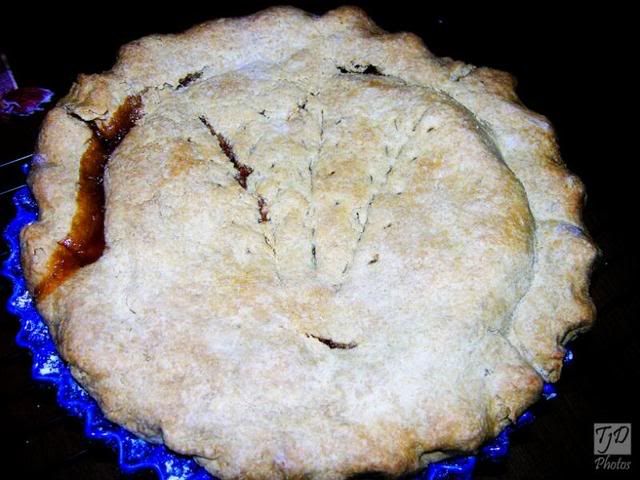
Ingredients:
Crust -
Ingredients
2 cups Whole Wheat Pastry Flour
1 tsp Sea Salt
3/4 cup Unsalted Butter, chilled
5 to 8 Tbsp Ice Water
Method:
Sift flour and salt into a large mixing bowl. Cut butter into 12 pieces and rub into dry ingredients until the mixture resembles a coarse meal with some pea-size pieces. Sprinkle water over mixture, one tablespoon at a time and knead lightly just until dough forms. Form dough into a ball. Cut in half and press each into a disc shape. Wrap each disc in waxed paper or plastic wrap and refrigerate for 30 minutes before rolling.
Makes two 9-inch pie crusts (16 slices).
Filling-
/2 cup sugar (white granulated)
1/4 cup packed light brown sugar
1/4 teaspoon salt
1 teaspoon ground cinnamon
1/4 teaspoon ground ginger
5 lbs of apples
peeled and cut into 1/4 inch slices
1 Tbsp of lemon juice and 1/2 teaspoon of grated lemon zest
2 Tbsp unsalted butter
Method:
Mix 1/2 cup white sugar and 1/4 cup brown sugar, salt, ground ginger, and cinnamon into a large mixing bowl. Add the apples and lemon zest and toss to combine. Transfer apples to a large, thick-bottomed covered pan or Dutch oven and cook, covered, over medium heat, stirring frequently, until apples are just tender when poked with a fork, but still hold their shape - about 15 to 20 minutes (but not so long for the apples to turn into applesauce, put apples in a colander over a bowl to drain excess liquid. Drain off as much juice as possible. Preheat oven to 425°F with a baking sheet on a rack on the lowest rung of the oven. While the apples are cooling and draining, remove the crust from the refrigerator. Let sit at room temperature for 5-10 minutes. Sprinkle some flour on top of the disk. Roll out with a rolling pin on a lightly floured surface to a 12 inch circle; about 1/8 of an inch thick. As you roll out the dough, use a metal spatula to check if the dough is sticking to the surface below. Add a few sprinkles of flour if necessary to keep the dough from sticking. Gently fold in half. Place on to a 9-inch pie plate, lining up the fold with the center of the pan. Gently unfold and press down to line the pie dish with the dough. Add the filling to the pie. Add the apple filling to the dough-lined pie pan. Sprinkle on 1 Tbsp of lemon juice. Dot with butter. Roll out second disk of dough, as before. Gently turn over onto the top of the apples in the pie. Pinch top and bottom of dough rounds firmly together. Trim excess dough with kitchen shears, leaving a 3/4 inch overhang. Fold dough under itself so that the edge of the fold is flush with the edge of the pan. Flute edges using thumb and forefinger or press with a fork. Score the top of the pie to allow steam to escape.Set pie on preheated baking sheet (to catch any juices that may escape from the pie while cooking). Bake at 425°F for 15 minutes. Lower the heat to 375°F and cook for an additional 50 minutes, until filling bubbles in the center and crust turns golden brown. Cool on a wire rack for 1 1/2 hours.
And here is another one I made this morning!
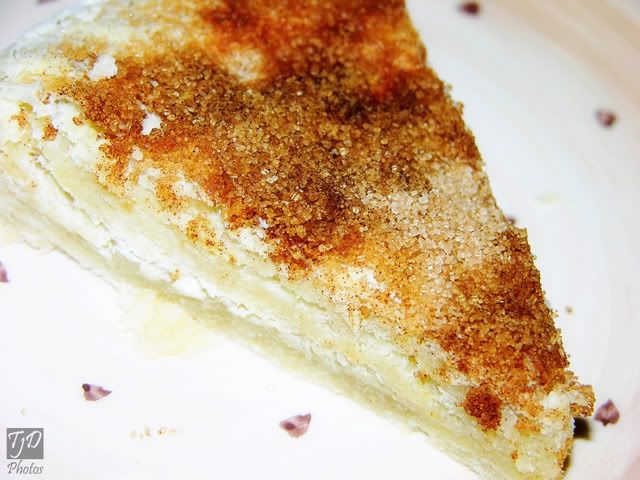
Snickerdoodle Scones (Click here for the printable recipe)
Ingredients:
2 cups all-purpose flour
1 tsp. baking soda
1 tsp. cream of tartar
1/4 tsp. salt
6 tbsp. cold unsalted butter, cut into small pieces
1/2 cup whole milk or heavy cream
1 1/2 tsp. vanilla extract
For the topping:
1/4 cup sugar
1 1/2 tsp. ground cinnamon
Method:
Preheat the oven to 400° F. Line a baking sheet with parchment paper or a silicone baking mat. In a large mixing bowl combine the flour, baking soda, cream of tartar and salt; stir together with a fork. Add the cold butter to the flour mixture and cut the butter into the dry ingredients using a pastry cutter or two knives, until the mixture is crumbly and the largest butter pieces are the size of peas.Combine the milk and vanilla in a measuring cup. Pour the liquid over the dry ingredients and stir together with a fork just until the mixture forms a cohesive dough. If necessary, knead the mixture just a few times by hand to bring the dough together. Transfer the dough to the prepared baking sheet and form a large round disc about 8-9 inches in diameter. In a small bowl, whisk together the sugar and cinnamon for the topping. Sprinkle generously over the top of the dough round (you will not need to use all of the topping.) Bake for about 15-18 minutes, or until a toothpick inserted in the center comes out clean. Allow to cool on the pan, then slice into 6-8 wedges for serving.
Enjoy!! Maybe sometime soon I will do a Mcklinky, and we can link some recipes. Anyone interested??






 Addis Ababa Time
8 comments:
awesome blog! Very nice :-)
Yummy! I love fall comfort foods! I've got to try the scones! Thanks for sharing!
pumpkin in chili? really? i've been making a lot of pumpkin things lately, and love pumpkin, but still find this idea strange, yet inriguing.
Shannon
I agree...I try to make as much as I can from stratch. Rarely an item comes from a box.
It's easy once you get used to it and you really have most the things on hand!
I'm now a follower!
I agree...I try to make as much as I can from stratch. Rarely an item comes from a box.
It's easy once you get used to it and you really have most the things on hand!
I'm now a follower!
Yummy!
Hey Tiffany, your comment didn't have a reply email - so here's the answer to your question today!
Yes, I definitely did burn the photo around Oceana's eyes. I think I did it too much, or not enough other places since it made them stick out. I actually did Naomi's too, but I did a little less, so it's not quite as noticeable.
It also helps that they have Daddy's eyelashes. Their MOTHER must rely on fantastic mascara to look half-awake... they on the other hand have had larger, longer, and fuller eyelashes than me, since the day they were born. :D
All I can say it YUM!! I love to bake and can not wait to try that bread recipe!!
Love your blog!
Post a Comment